Ultra-Rare Discontinued Parts
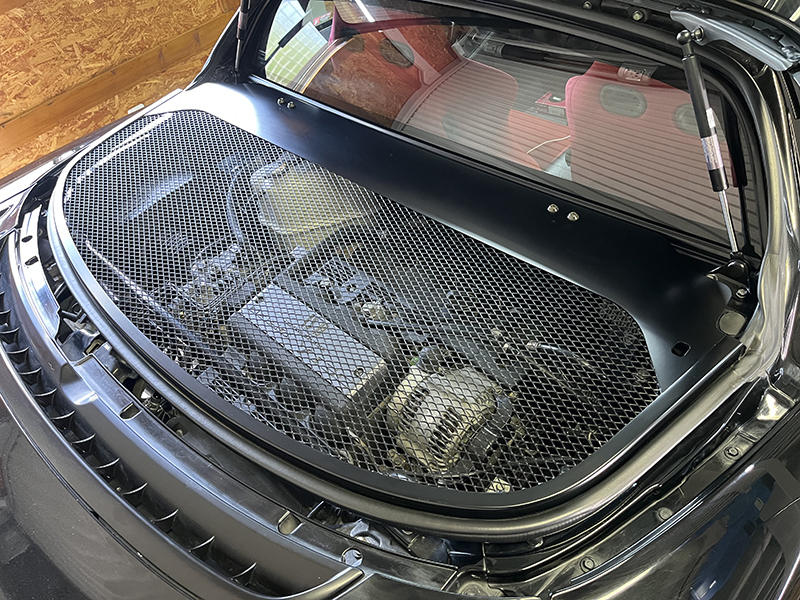
As you know, the maintenance lid on the NSX-R and Type S is made of an aluminum frame and mesh, so the contents of the engine bay are completely visible.
If you just want to see everything, you could remove the maintenance lid, but the design of the genuine product, with the mesh blocking the view just enough, is excellent.
There are FRP copies on the market, but I had always wanted to replace it with a genuine maintenance lid, and finally I was able to get a used one in good condition.
- The maintenance lid I purchased came with weather strips and hinges.
The hinges are also valuable since they are no longer in production.
However, the coupe hinges can likely be used by adding nuts, as the only difference is that the NSX-R hinges have pre-welded nuts on the lid side.
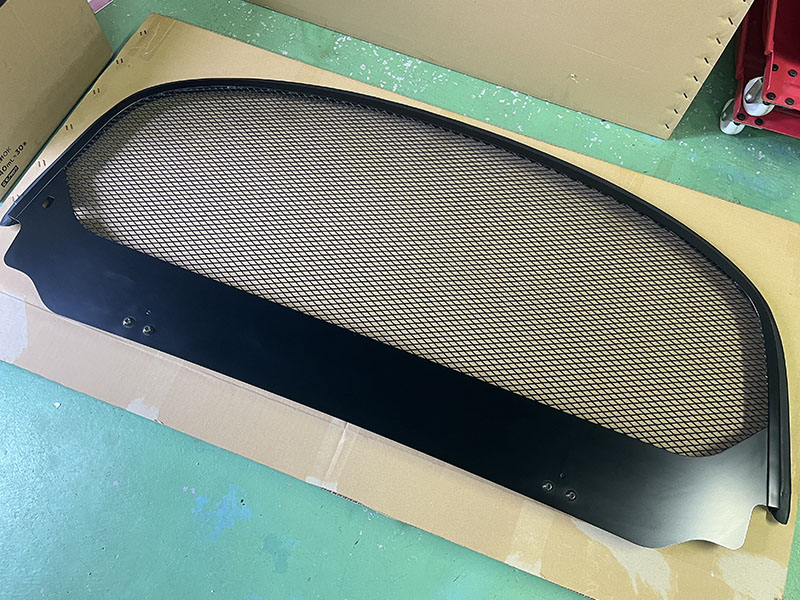
NSX-R (TypeS) genuine maintenance lid
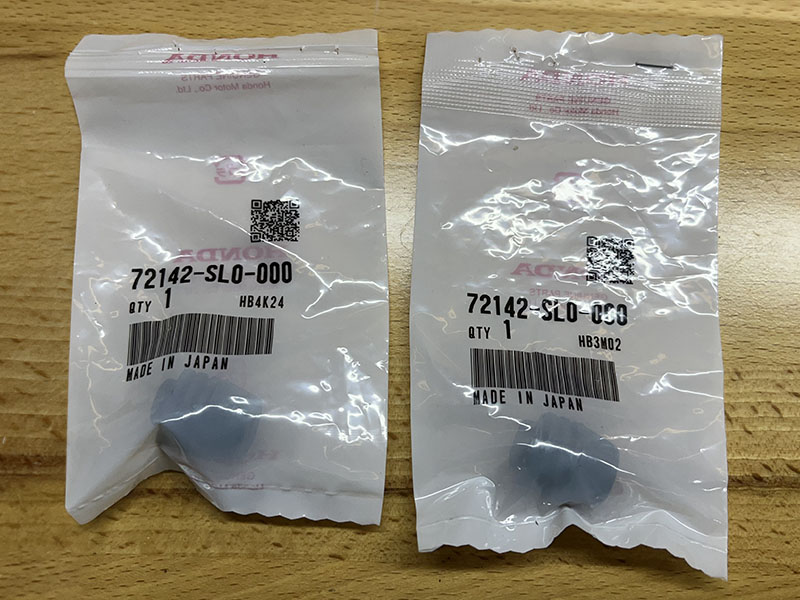
NSX-R (Type S) Door Stopper (72142-SL0-000)
- The door stopper (72142-SL0-000) for the NSX-R (Type S) that I purchased is an easy to overlook part when replacing the maintenance lid for the NSX-R,
but the door stoppers for the NSX-R (Type S) and the coupe are different.
The part name is door stopper, but it is the rubber that the maintenance lid sits on.
NSX-R (Type S) Door Stopper (72142-SL0-000)
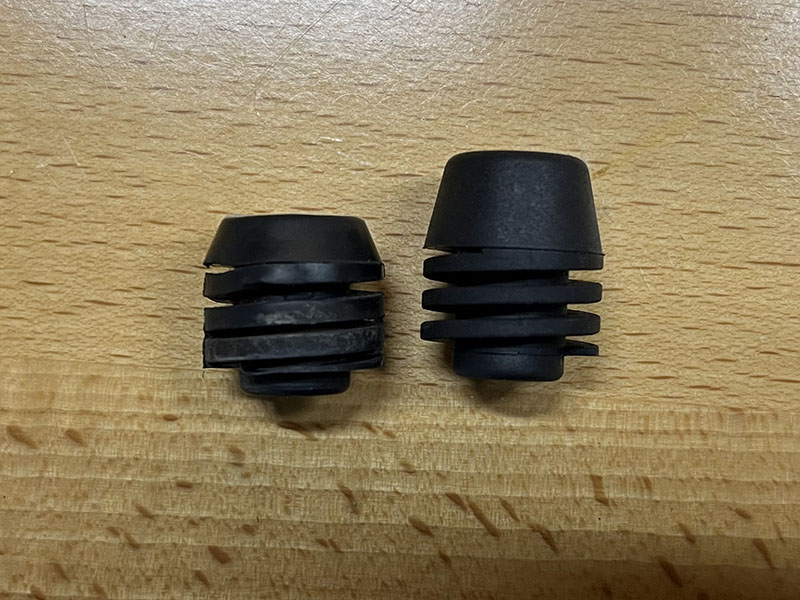
- Comparing the door stoppers of the NSX-R (Type S) and the coupe.
The one on the left is for the coupe, which was originally attached, and the one on the right is for the NSX-R (Type S), which is taller.

Maintenance lid body related parts
Loading...
| No | Part Number | Part Name | Unit price | Quantity | Price | Remarks |
|---|---|---|---|---|---|---|
| 6 | 69110-SL0-901 | LID COMP., ENGINE MAINTENANCE | 1 | Old part number: 69110-SL0-900 | ||
| 11 | 69210-SL0-900 | Hinge COMP., engine middle lid | 1 | |||
| 17 | 74442-SL0-003 | Weather strip, rear hatch lower | 1 | |||
| 32 | 90151-SR2-000 | Bolt, special 6X14 | 4 | |||
| 41 | 93404-0602007 | Bolt washer 6X20 | 1 | |||
| 12 | 72142-SL0-000 | Stopper, Door | 2 |
All listed prices include tax.
* Parts with no listed unit price were either discontinued or unavailable for order at the time of this survey.
* Even parts with a listed unit price may have already been discontinued.
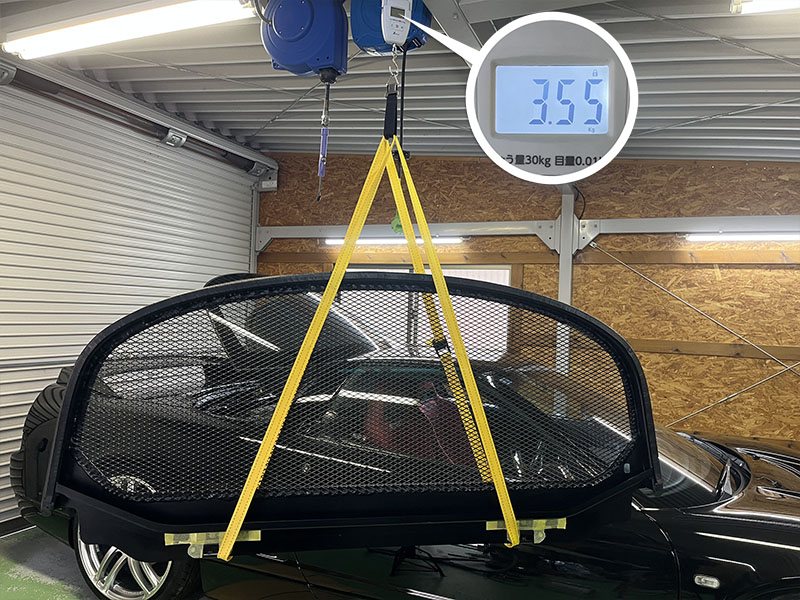
NSX-R (Type S) Lid Weight
- I wanted to confirm the weight reduction effect, so I first measured the weight of the maintenance lid for the NSX-R (Type S).
The result was 3.55 kg (it is a pull-type scale, so there may be some error due to the balance).
As stated in the 92R catalog:
Aluminum frame + mesh (-4.0kg)
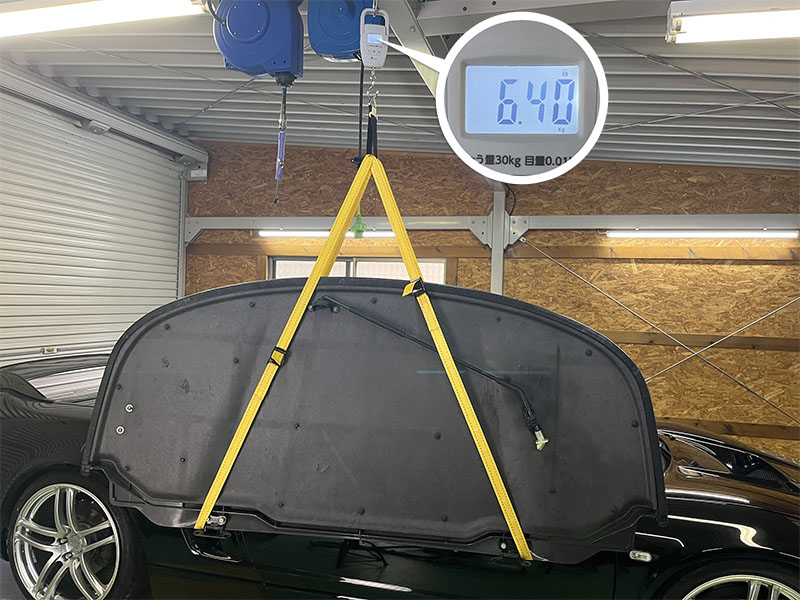
Coupe Lid Weight
- Next, the weight of the removed coupe maintenance lid was also measured.
The weight of the coupe lid including the bracket was 6.4kg.
Taking into account that the open bracket for the NSX-R (Type S) is lighter, I think the weight has been reduced by about 2.7 to 2.8kg.
It doesn't seem like the coupe lid has become lighter due to aging, so it's unclear why the difference in the actual measured value is smaller than the weight difference listed in the catalog.

Door stopper installation for NSX-R (Type S)
- The door stopper is attached by simply screwing it in.
Of the three door stoppers, the one in the center at the rear is for the low-riding coupe, and the two on both sides are for the taller model.
It's not obvious from the outside, but perhaps the lid for the coupe is curved. - Installation of the maintenance lid body is complete.
It's easy because it only needs to be fixed with four bolts.
Being able to install a genuine NSX-R maintenance lid — something I had only seen in photos — was deeply satisfying.
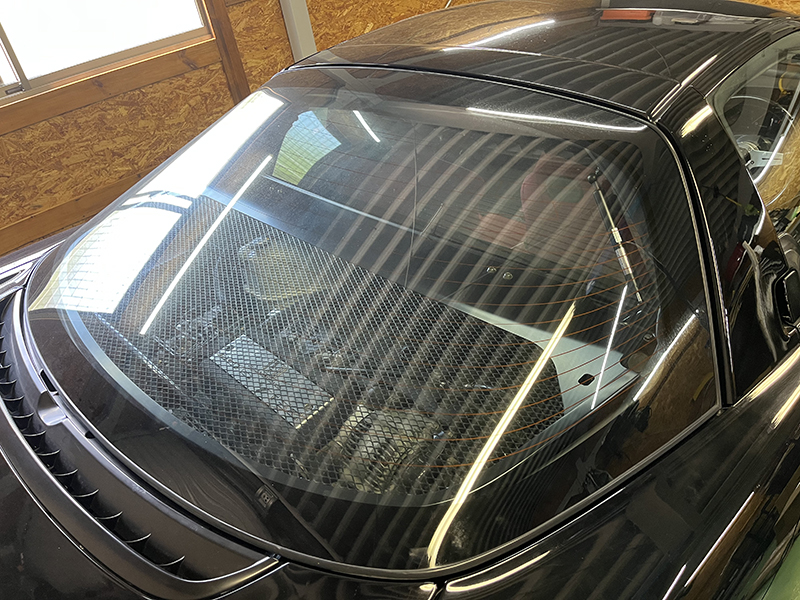
The expansion tank doesn't have a cover, so the white color is quite noticeable. I don't need to worry too much about UV rays, but the expansion tank stands out and looks strange, so I'm thinking of purchasing a cover for the NSX-R. - With the rear window closed, the engine compartment is completely visible, so those who don't know might think it's a strangely dressed-up car.
After installing the maintenance lid body
After installing the maintenance lid body
- I was unsure what to do because it required drilling holes in the body, but since it was a genuine maintenance lid, I decided to attach a genuine open stay.
First, I purchased the parts I thought I would need based on the 02R parts list. - Assembled the open stay related parts that I purchased.
The coupler stay (32756-PBY-N51) for attaching the rod holder is also included, but I was unable to use it. - In C32B-equipped vehicles from 1997 onward, the injectors were changed to high-impedance types and the resistor was eliminated.
In contrast, in C30A-equipped vehicles, a resistor is installed at the mounting location of this coupler stay, making it impossible to install this stay.
Since this part also could not be used, I was able to understand why T3TECopen_in_new offers a dedicated rod holder bracketopen_in_new.

NSX-R (Type S) Maintenance Lid Open Stay Parts

Assembled open stay for NSX-R (Type S)

Coupler stay for later model
Maintenance lid body related parts
Price at purchase (March 2021)
| No | Part Number | Part Name | Unit price | Quantity | Price | Remarks |
|---|---|---|---|---|---|---|
| 8 | 69112-SL0-900 | Bracket A, rod holder | 460 | 1 | ||
| 25 | 74845-SL0-900 | Stay, engine maintenance slit open | 3,920 | 1 | ||
| 29 | 90006-PT2-003 | Bolt, flange 6X16 | 35 | 2 | ||
| 35 | 91503-SS0-003 | Holder, Rod | 100 | 1 | ||
| 36 | 91604-SD2-013 | Grommet, bonnet stay | 130 | 1 | ||
| ZB13.3-5 | 32756-PBY-N51 | Stay, coupler | 1,650 | 1 | March 2025 Price | |
| ZB13.3-21 | 93403-0601604 | Bolt washer 6X16 | 40 | 1 | March 2025 Price | |
| ZB13.4-3 | 30700-SL0-N11 | Register assembly. | 9,020 | 1 | ||
| Total amount | ||||||
All listed prices do not include tax.
Loading...
| No | Part Number | Part Name | Unit price | Quantity | Price | Remarks |
|---|---|---|---|---|---|---|
| 8 | 69112-SL0-900 | Bracket A, rod holder | 1 | March 2021 Prices | ||
| 25 | 74845-SL0-900 | Stay, engine maintenance slit open | 1 | March 2021 Prices | ||
| 29 | 90006-PT2-003 | Bolt, flange 6X16 | 2 | March 2021 Prices | ||
| 35 | 91503-SS0-003 | Holder, Rod | 1 | March 2021 Prices | ||
| 36 | 91604-SD2-013 | Grommet, bonnet stay | 1 | March 2021 Prices | ||
| ZB13.3-5 | 32756-PBY-N51 | Stay, coupler | 1 | March 2025 Price | ||
| ZB13.3-21 | 93403-0601604 | Bolt washer 6X16 | 1 | March 2025 Price | ||
| ZB13.4-3 | 30700-SL0-N11 | Register assembly. | 1 | |||
| Total amount | ||||||
All listed prices include tax.
* Parts with no listed unit price were either discontinued or unavailable for order at the time of this survey.
* Even parts with a listed unit price may have already been discontinued.
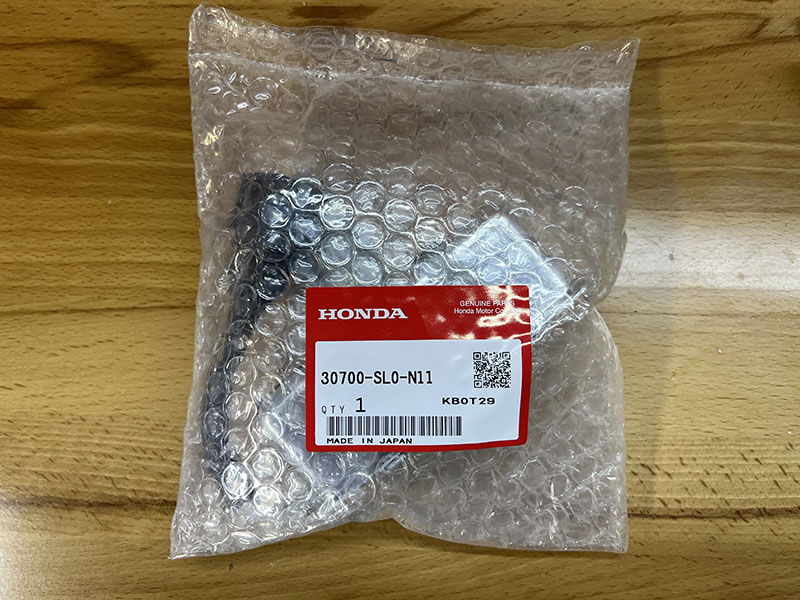
Resistor ASSY for NSX 92R (30700-SL0-N11)
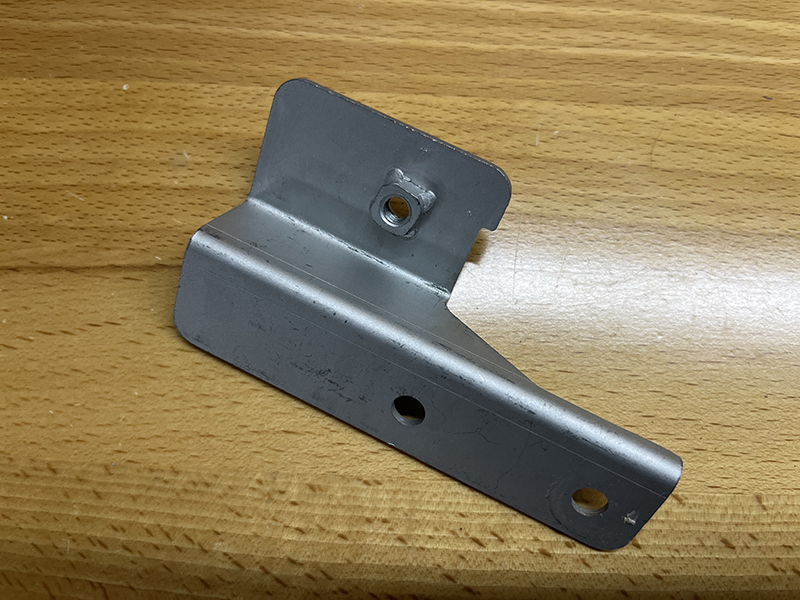
- After some research, I found that the register bracket for the 92R seems to have a bracket for attaching a rod holder (later parts were integrated and all models were assigned a register with this bracket).
I couldn’t purchase it through the usual channels as it was out of stock.
However, I managed to find one on Monotaro, and it arrived safely. I'm not sure if they happened to have it in stock or if they've resumed sales, but I'm glad I did. - Comparison of the 92R register and the Coupe register.
The 92R register has a bracket for attaching a rod holder.
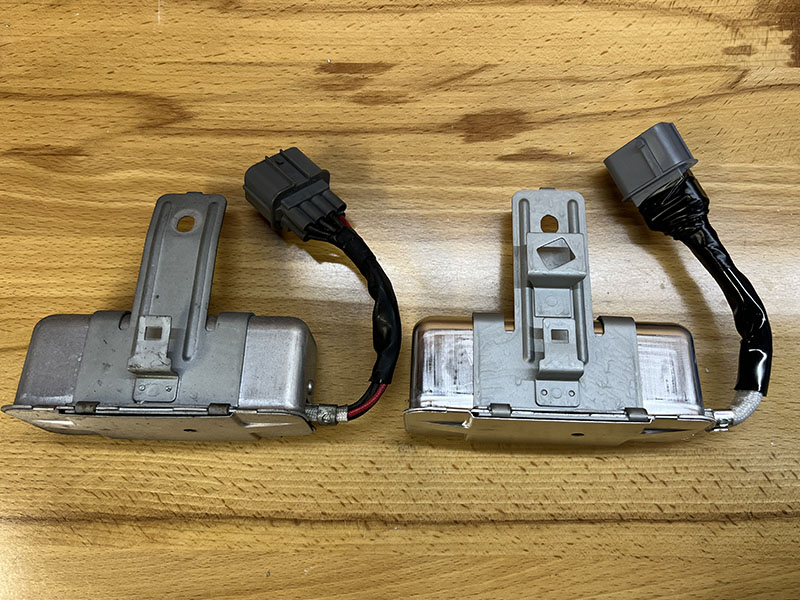
Comparison of NSX 92R and Coupe resistors
Rod holder mounting hole positioning
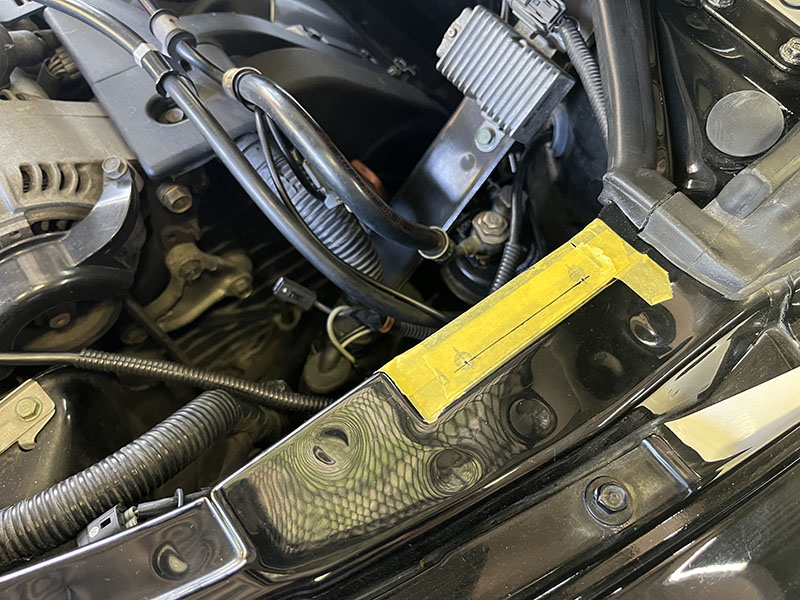
- To install the genuine open-top stay, you need to drill holes in the body.
Since there is no room for error, you need to carefully align the rod holder and the holes in the lid.
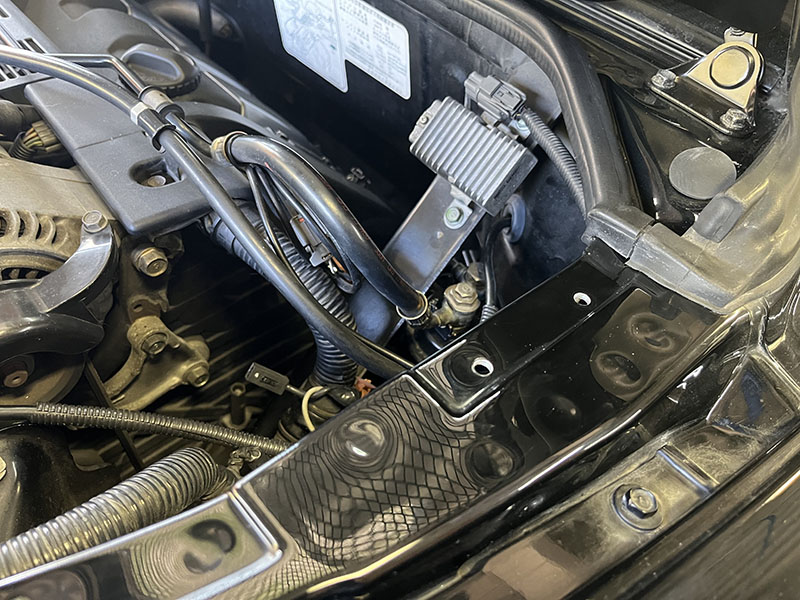
Be careful not to let the protrusion of the rod holder bracket interfere with the fold of the body. - Drilling completed.
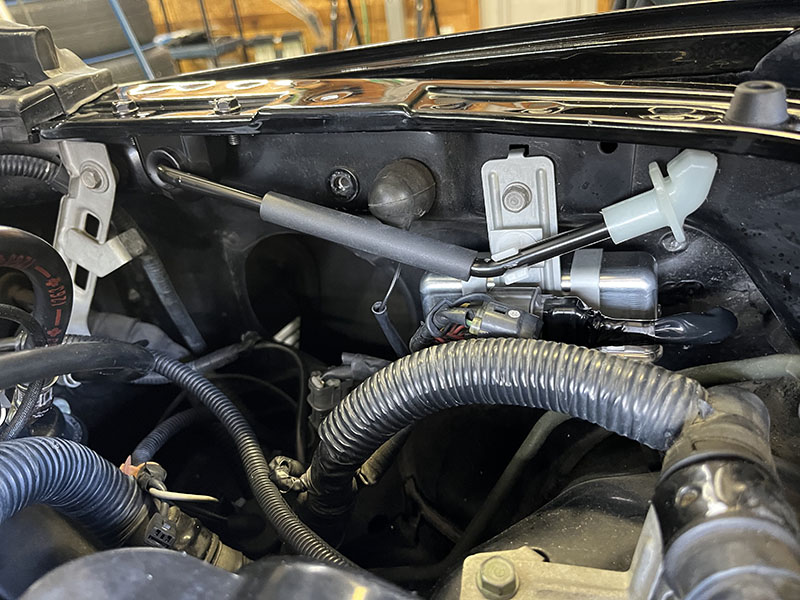
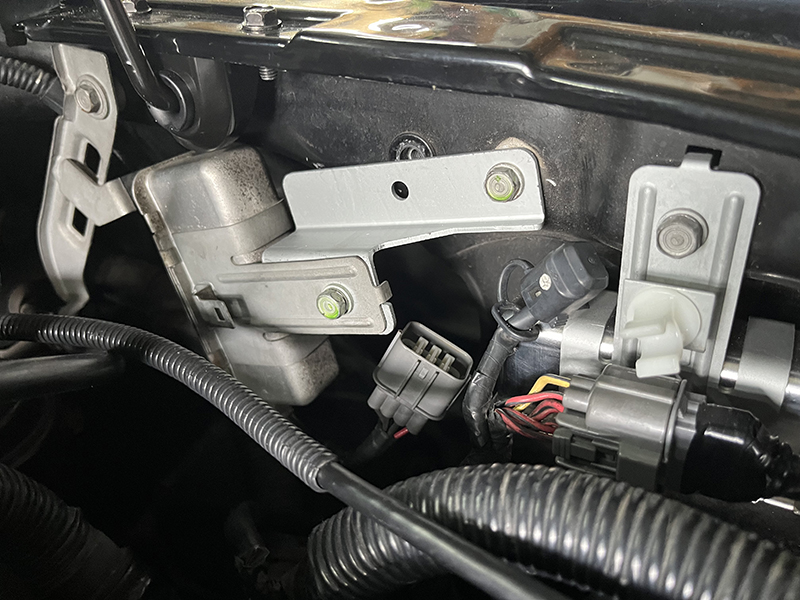
If you drill 17mm in from the outside of the body, it will barely avoid the folded part of the body. The hole pitch was 60mm. If you drill the holes in the correct position, they will be slightly off to the outside from the center of the plane where the spot weld is. - The genuine open stay is installed.
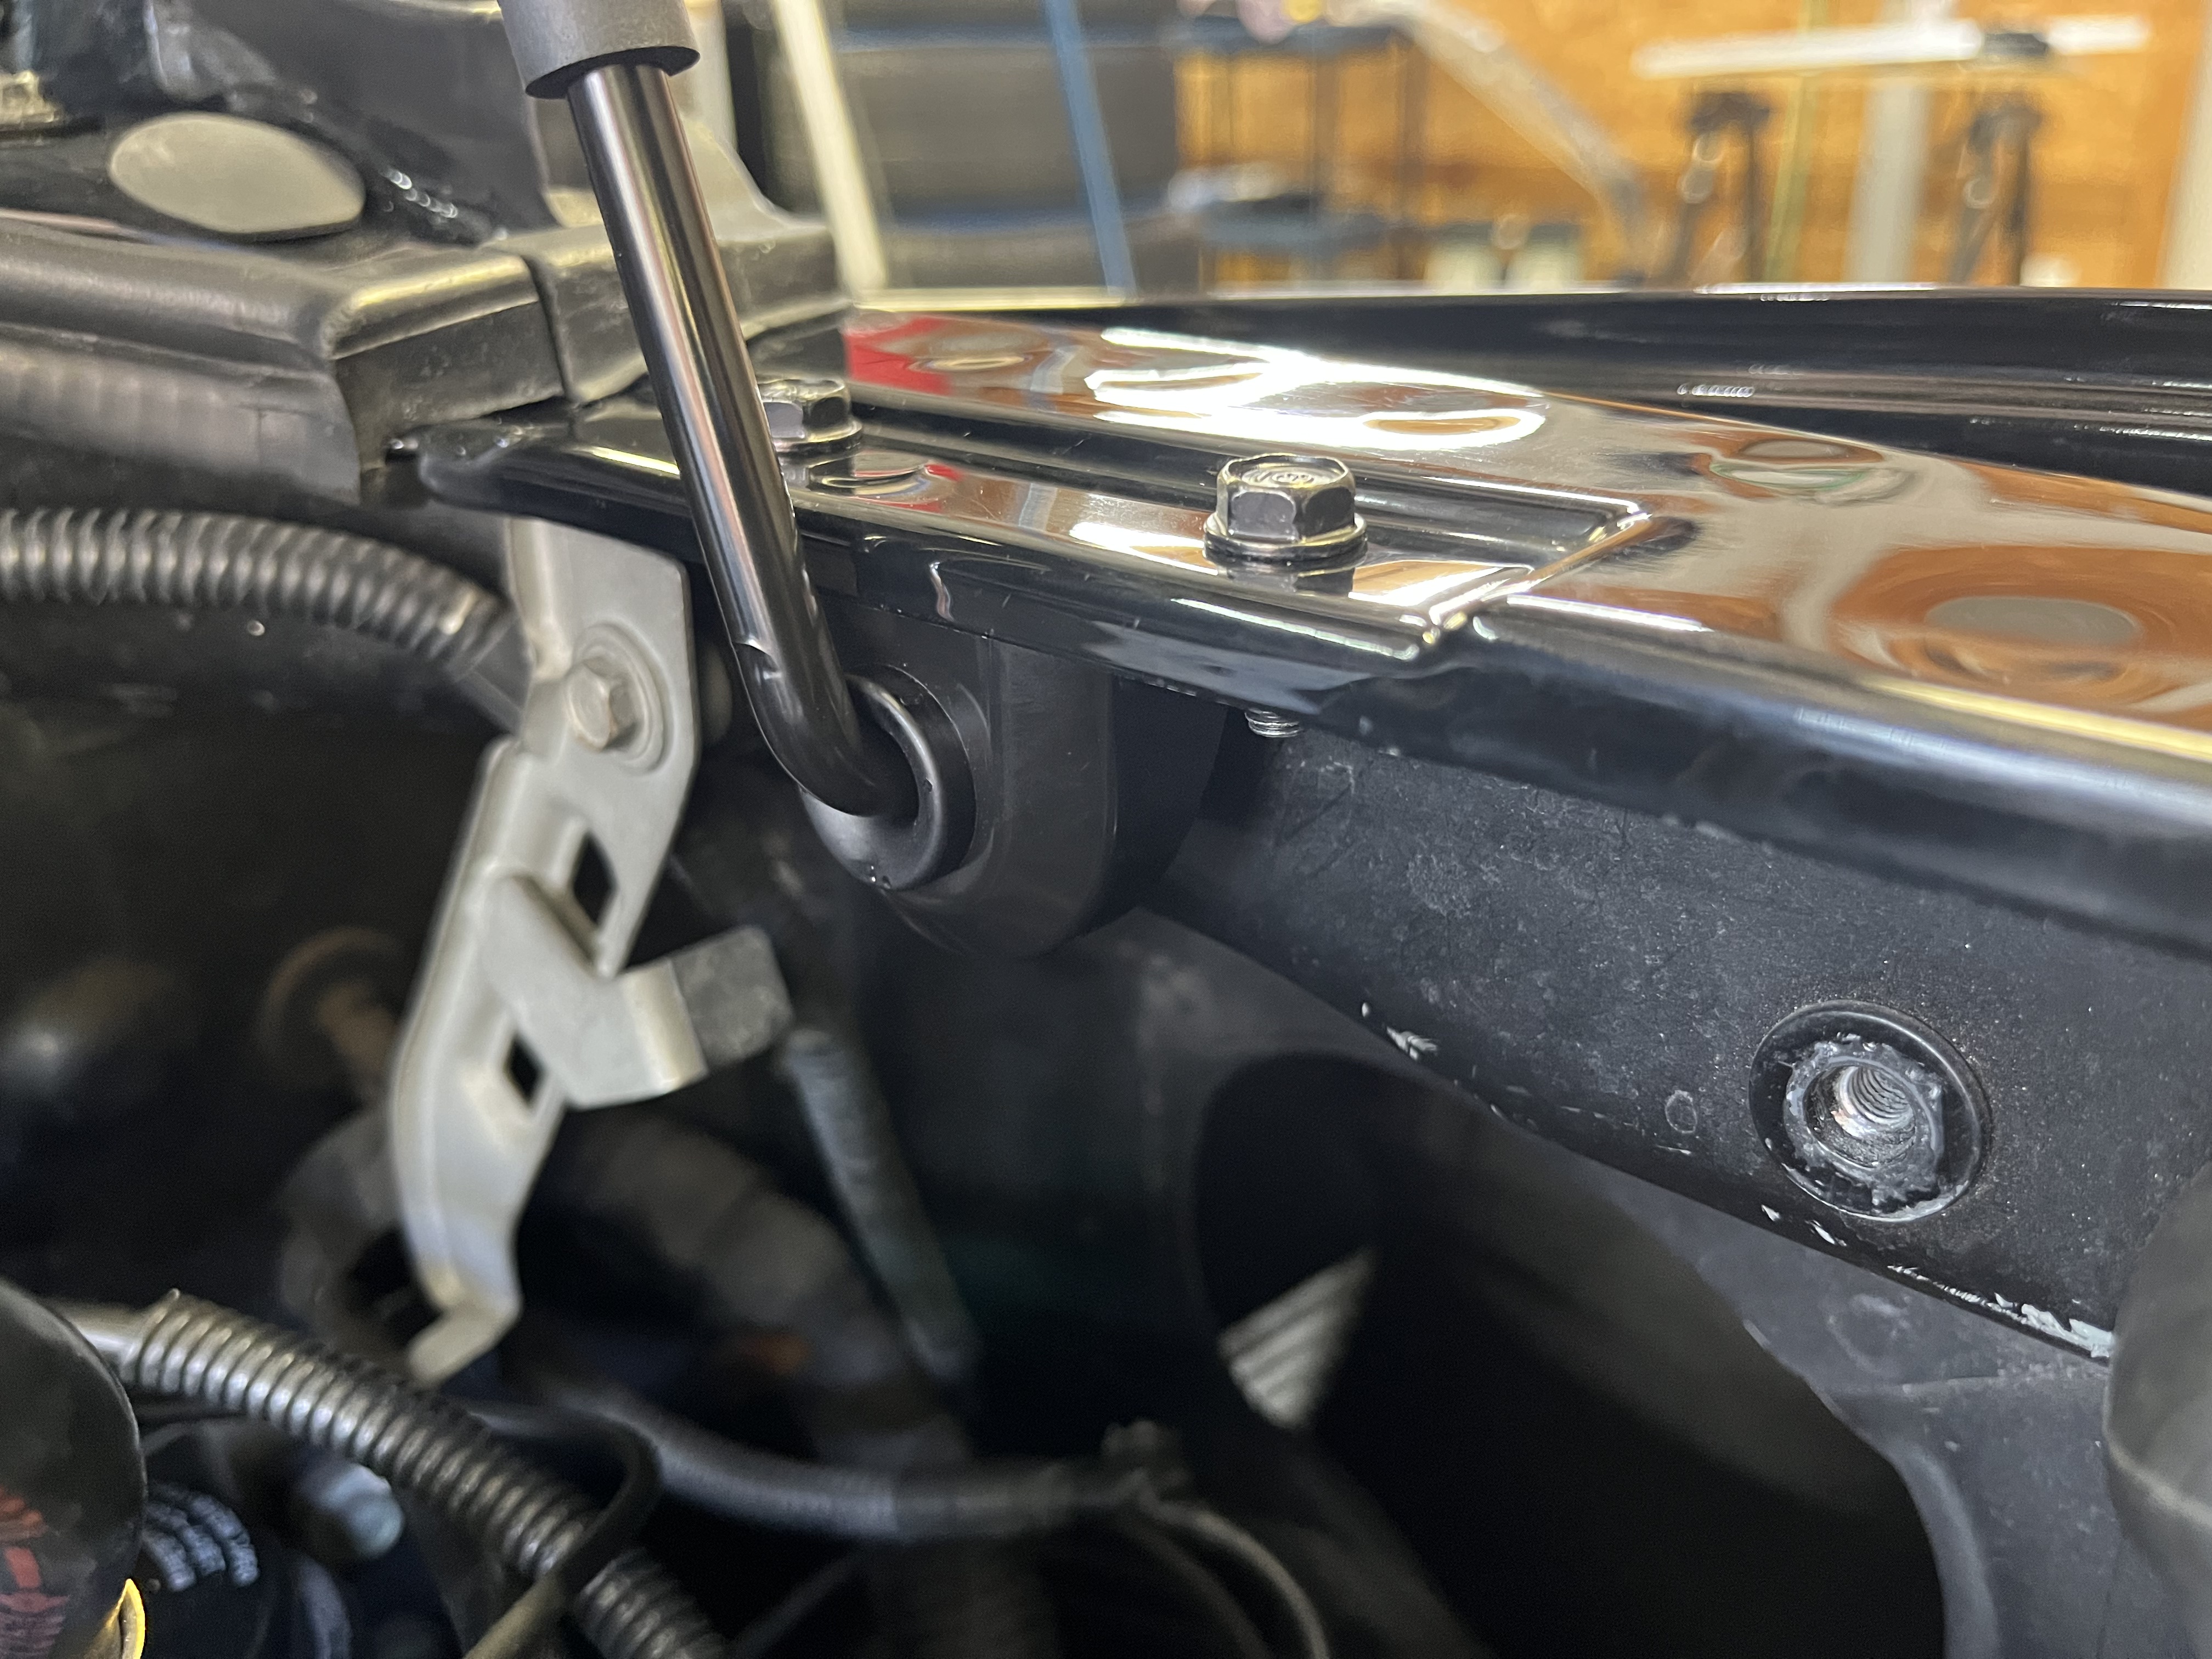
The entire rod holder bracket fits inside the folded back part of the body. - After installation, check that the open stays can properly support the maintenance lid.
Rod holder mounting holes drilled
Rod holder bracket attachment
Check the function of the open stay
Check the storage of the open stay
- Finally, verify that the rod fits securely into the holder to complete the installation.
It will fit perfectly into the holder without any resistance. - Even in 1997 and later models equipped with the C32B, AT vehicles retained the C30A engine, so they still use low-impedance injectors and are equipped with a resistor. Since I was interested in the part called “Bracket, Resistor (30701-PR7-000)” specified for AT vehicles from 1997 onward, I purchased one to try it out.
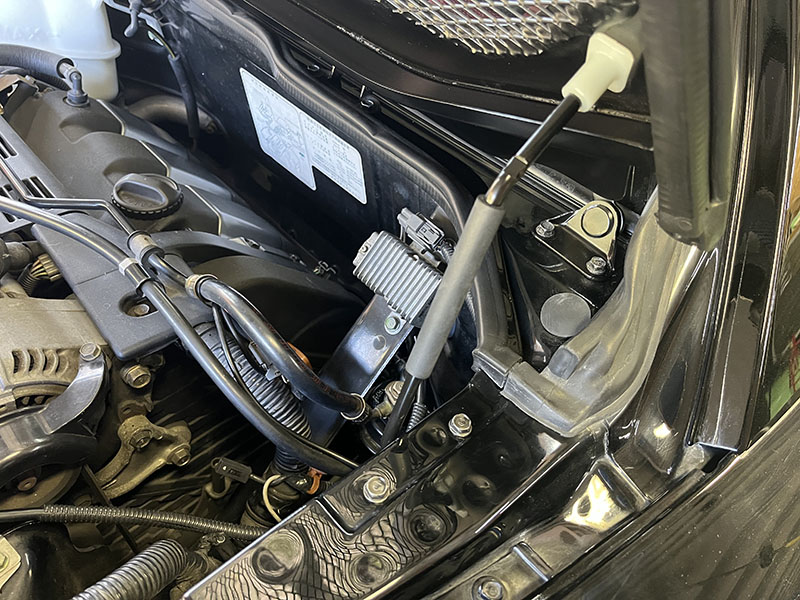
- It appears to relocate the resistor forward by removing one ground terminal and mounting the resistor sideways; however, the resistor interferes with the NSX-R rod holder, so unfortunately it could not be used.
It is likely that this relocation bracket was intended to move the resistor to accommodate the installation of some other component.
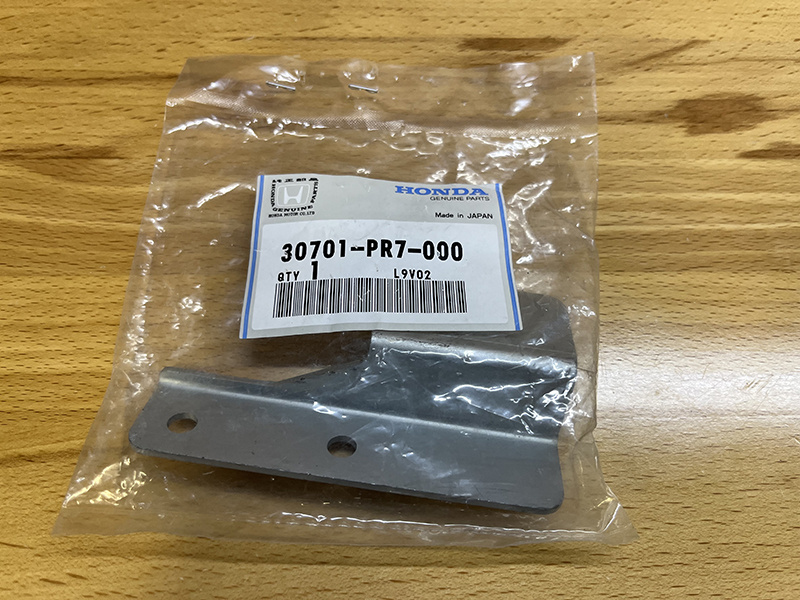
BRACKET, REGISTER 30701-PR7-000
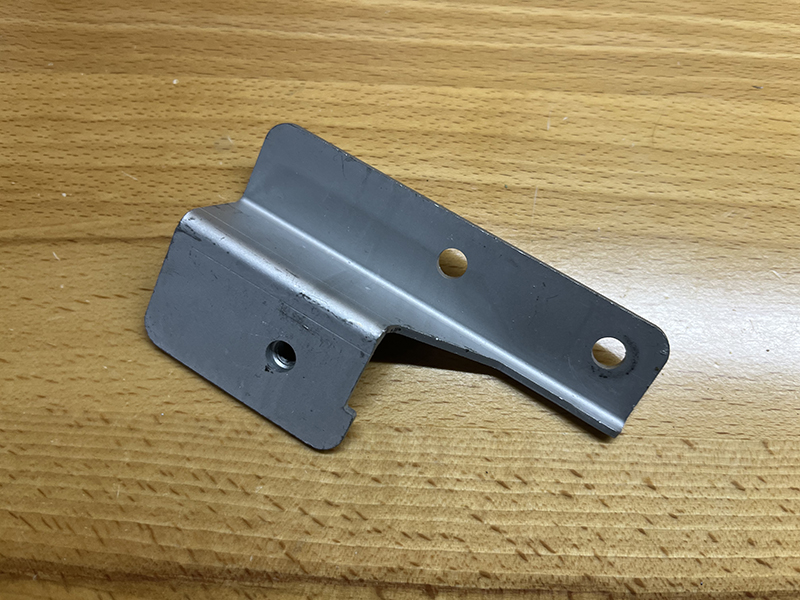
Bracket, register 30701-PR7-000 front side
Bracket, register 30701-PR7-000 back side
The register interferes with the rod holder.
- The NSX-R's mesh maintenance lid exposes the engine compartment directly to ultraviolet rays, so a cover is installed on the expansion tank as a countermeasure.
My vehicle is kept in a garage, so I don't have to worry too much about ultraviolet rays, but I feel that this cover, which is exclusive to the NSX-R, may soon be discontinued., and even if I put off purchasing it, the price will only continue to rise, so I decided to go ahead and buy it. - The material is not specified, but it has a silicone rubber-like texture and is quite stretchy.
- Thanks to the highly elastic cover, it was easy to put on while the tank was still attached to the vehicle.
Of course, there was no need to drain the coolant.
Before installation, the tank was the most noticeable part of the engine bay, but with the cover on, it is less noticeable, which is a good thing.
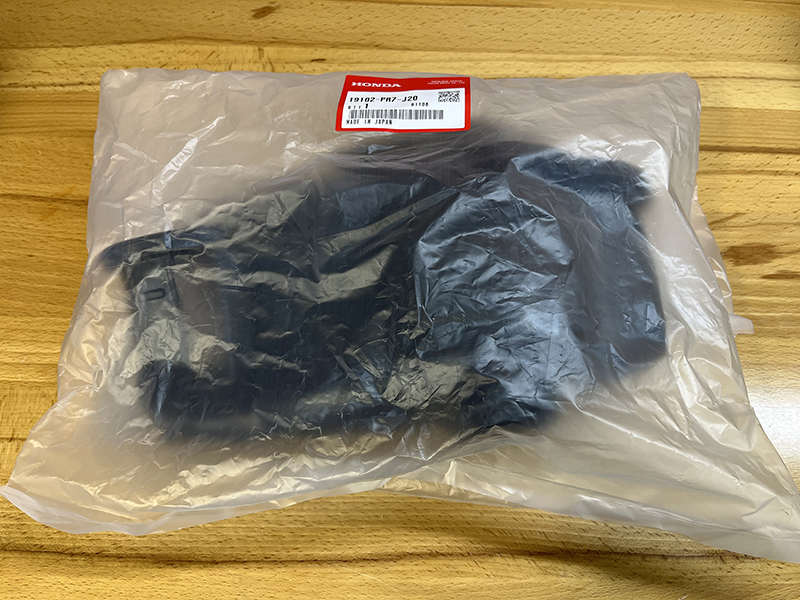
Cover, expansion tank 19102-PR7-J20
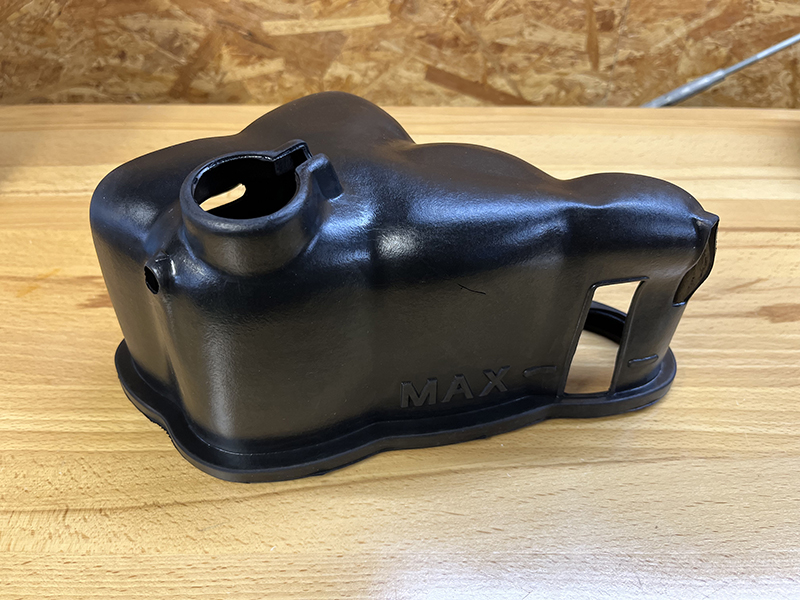
Cover, expansion tank 19102-PR7-J20
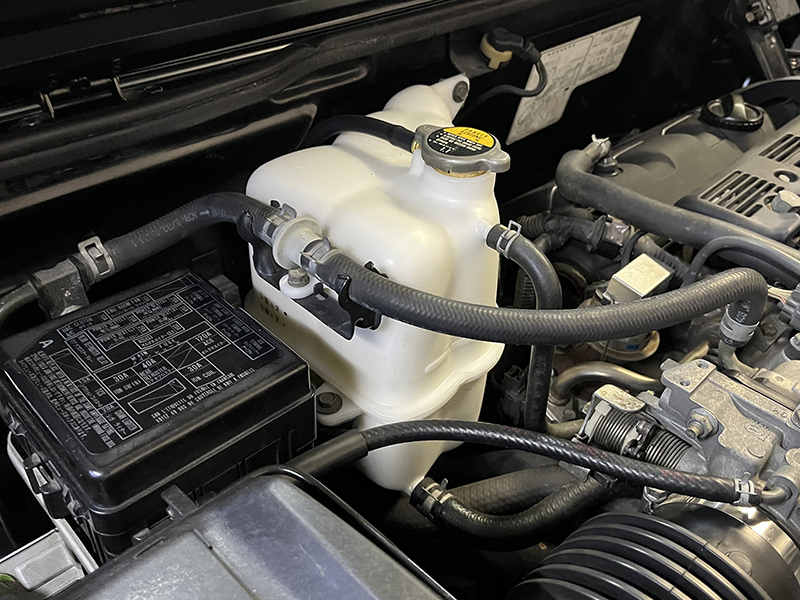
Before installing the expansion tank cover
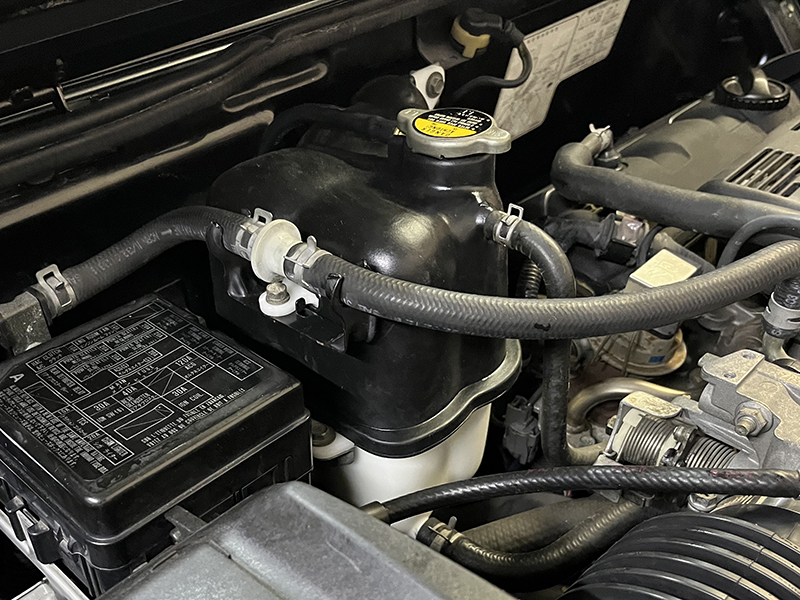
After installing the expansion tank cover
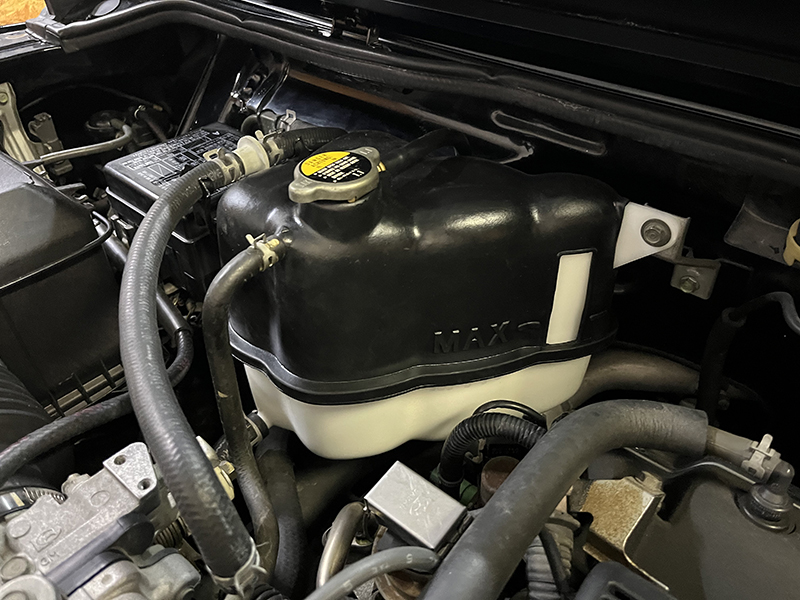
After installing the expansion tank cover
Price at purchase (July 2025)
| No | Part Number | Part Name | unit price | quantity | price | remarks |
|---|---|---|---|---|---|---|
| 33 | 19102-PR7-J20 | Cover for expansion tank | 22220 | 1 |
All prices shown include tax.
Loading...
| No | Part Number | Part Name | unit price | quantity | price | remarks |
|---|---|---|---|---|---|---|
| 33 | 19102-PR7-J20 | Cover for expansion tank | 1 |
All prices shown include tax.
* Parts with blank unit prices are either out of production or unavailable for order at the time of the survey.
* Even if a part has a unit price displayed, it may no longer be in production.
- If you replace the rear window with an NSX-R maintenance lid, air will easily escape under the lid when closing it, causing it to fall with great force if you let go of it in the same way as with a standard lid.
With a standard lid, even if you let go and let it fall, it closes slowly due to air resistance and only locks when you finally push it down with your hand. However, with an NSX-R lid, even if you let go at a height of about 20 cm, it falls with great force and locks automatically. There have been cases where people have broken the rear window because they let go of the glass at a high position. Due to aging of the dampers on my vehicle, the rear window would fall if I pushed it slightly when it was fully open, so I replaced the dampers with new ones for safety reasons. - After the replacement, you will feel a firm rebound force until you lower the rear window about halfway.
However, once you no longer feel the rebound force, the window will fall easily if you let go, so I recommend replacing the damper with a new one at the same time as replacing the lid.
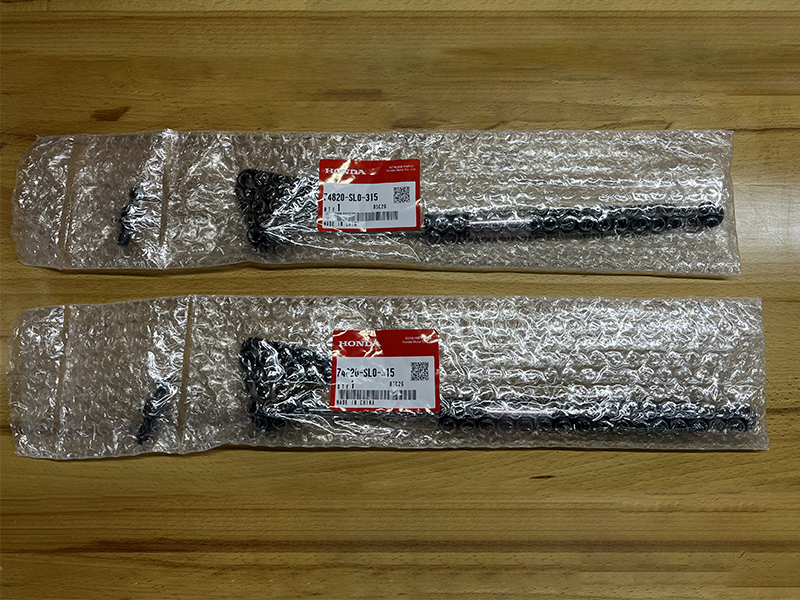
Stay assembly, rear hatch open 74820-SL0-315
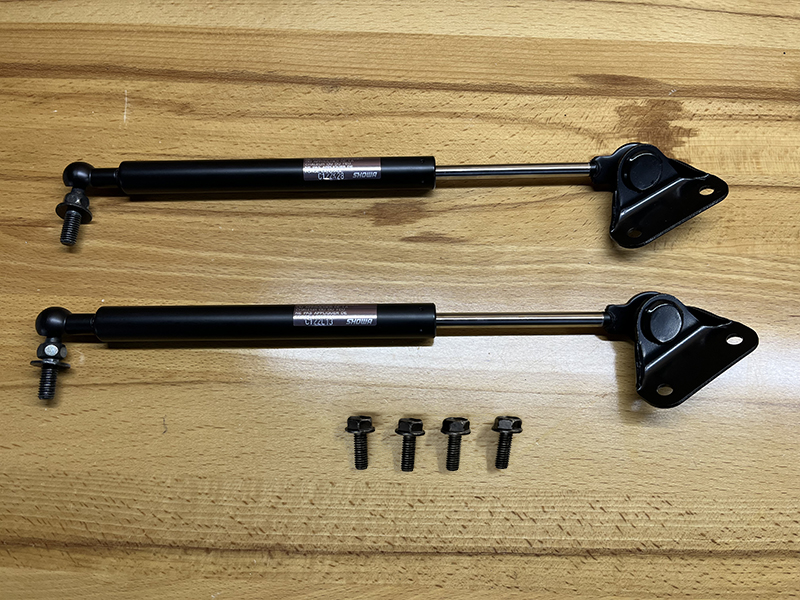
Stay assembly, rear hatch open 74820-SL0-315
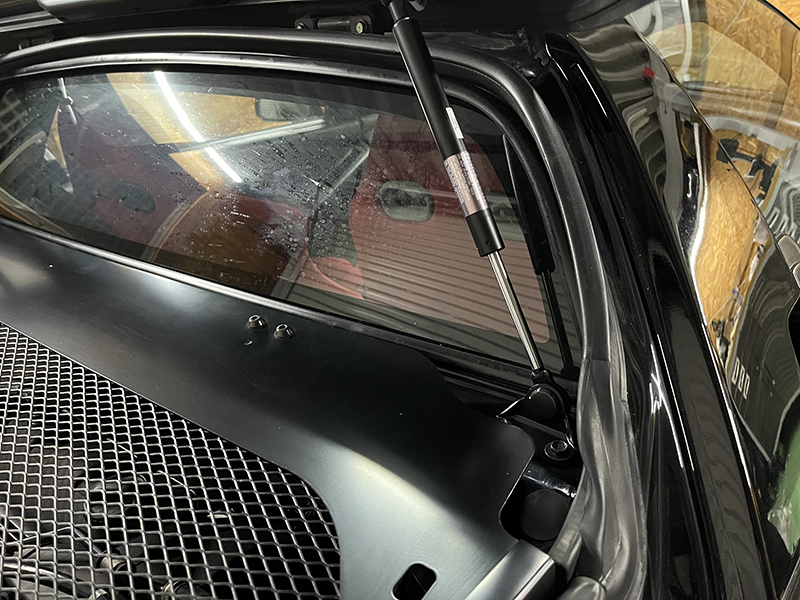
After replacing the rear hatch open stay
Price at purchase (July 2025)
| No | Part Number | Part Name | unit price | quantity | price | remarks |
|---|---|---|---|---|---|---|
| 73 | 74820-SL0-315 | Stay assembly, rear hatch open | 6600 | 1 | ||
| 45 | 90006-PT2-003 | Bolt, flange 6x16 | 192 | 4 | ||
| Total amount | ||||||
All prices shown include tax.
Loading...
| No | Part Number | Part Name | unit price | quantity | price | remarks |
|---|---|---|---|---|---|---|
| 73 | 74820-SL0-315 | Stay assembly, rear hatch open | 1 | |||
| 45 | 90006-PT2-003 | Bolt, flange 6x16 | 4 | |||
| Total amount | ||||||
All prices shown include tax.
* Parts with blank unit prices are either out of production or unavailable for order at the time of the survey.
* Even if a part has a unit price displayed, it may no longer be in production.
- I was lucky enough to get hold of a genuine part, but if I couldn't get one, I would have tried to make a replica that was as close to the genuine part as possible.
However, there were many parts where I didn't know the exact dimensions, such as the position of the mounting holes for the open stay, and I was worried about what to do.
Based on this experience, I measured the dimensions of the genuine part I own and created an A3-sized processing diagram that can be printed and used as a pattern,
so that it can be used as a reference for those who are thinking of installing an aftermarket maintenance lid
(it looks like a simple shape, but there are more curves than I expected, so I had no choice but to use the hinge mounting holes as a reference).
A3 version Open stay hole Processing diagramopen_in_new(PDF file 45.5KB)* When printing from a PDF file onto A3 paper, please make sure that the listed dimensions match the actual dimensions before using.

Open stay hole processing diagram